How to create Virtual Staging (Object)?

Andrea
Last Update hace 2 meses
Select Virtual Tours -> POIs from the side menu.
Select room you want to add a Virtual Staging object to and click the button "+" on top right.
Select room you want to add a Virtual Staging object to and click the button "+" on top right.
Select the style of the POI and click Virtual Staging as Content.

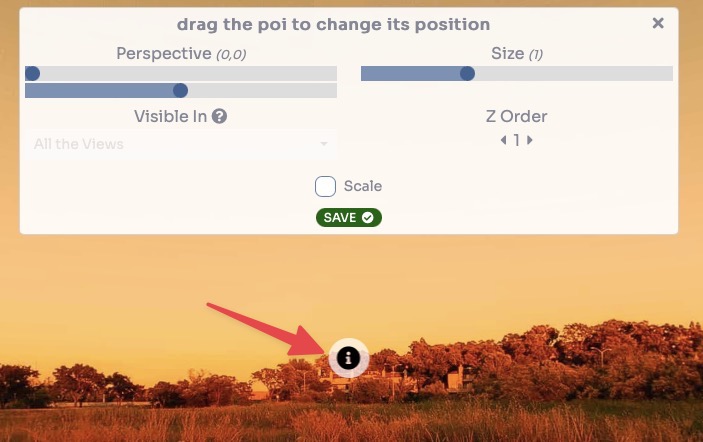
Drag the POI's icon to change it's location and then click Save.
In this section you can add, by clicking on the + New button, the various versions of a given object.

Configure the staging element with the following settings:
- Image (PNG): Upload a PNG file containing only the specific object you wish to add or replace.
Note: The image must have a transparent background and be the exact same resolution as the base room panorama to ensure it aligns perfectly.
- Name: Enter a descriptive name for the element (e.g., "Blue Curtains" or "Modern Sofa").
- Icon: Upload a small preview image or icon that will represent this choice in the user interface.
- Default: Check this box if this element represents the original state of the room or the primary version you want displayed when the tour loads.

To provide users with multiple choices for the same space (such as different flooring, furniture styles, or decor), simply repeat the staging element process for each variation:
- Consistent Alignment: Ensure every version of the object uses the same resolution and transparent PNG format so they swap seamlessly in the same position.
- Selection Menu: Once all versions are uploaded, their corresponding Icons will appear in the tour, allowing users to click and switch between the different staging options instantly.
Click Save.
You can view a live preview of virtual staging (objects) in this demo