How to add a Map?

Andrea
Last Update hace 2 meses
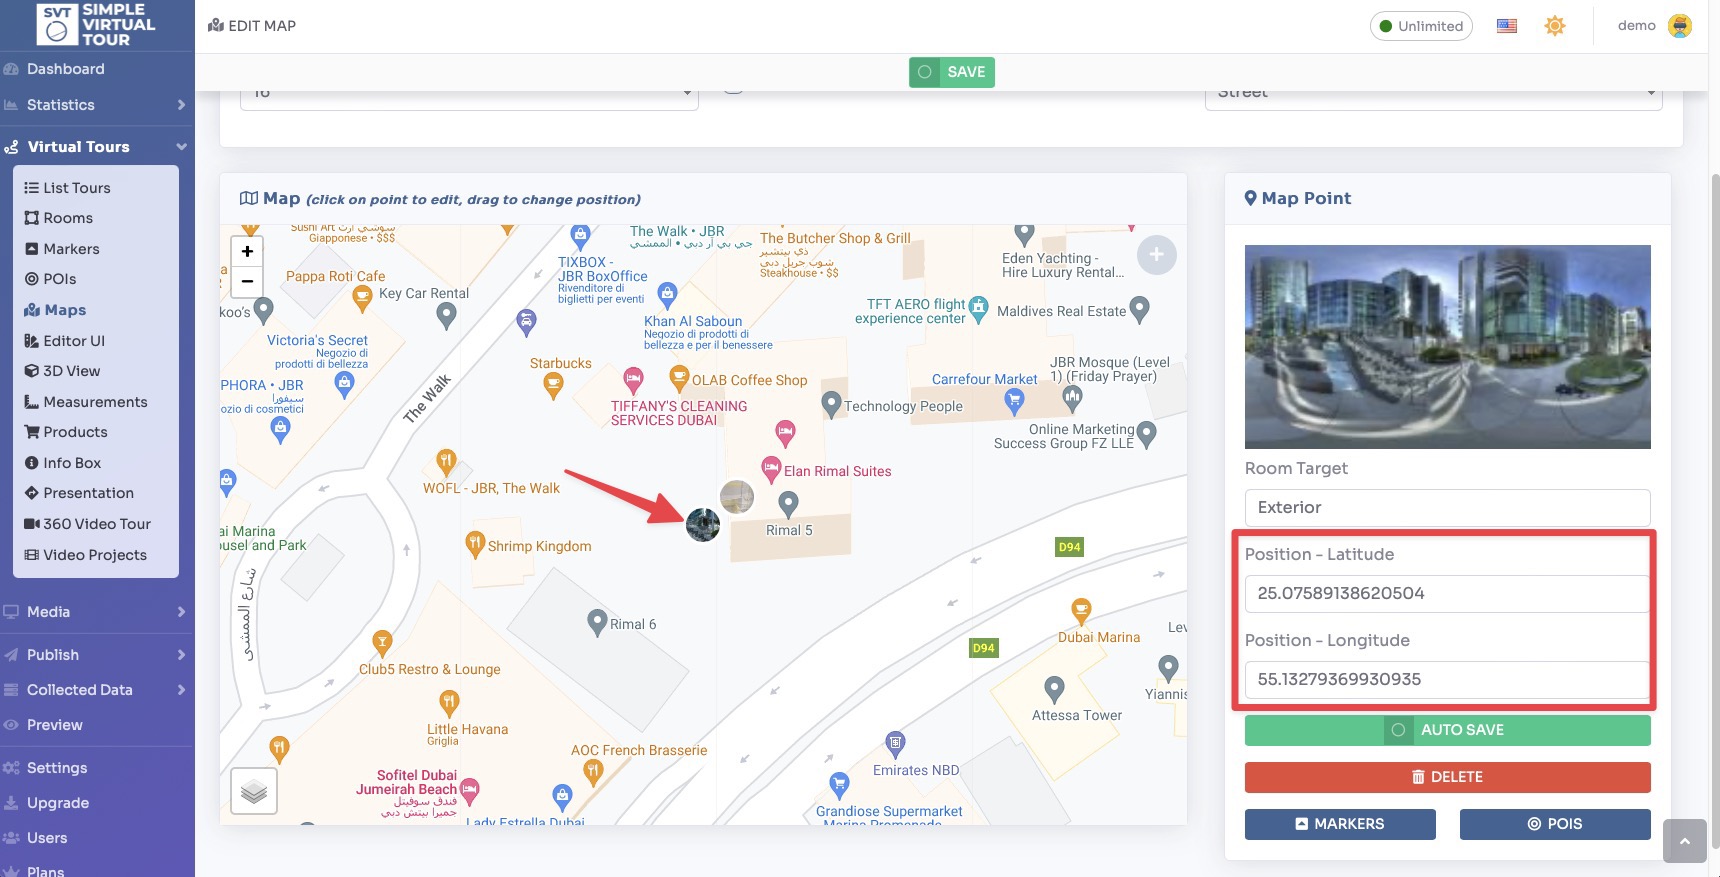
Now you will be taken to the Map settings and editing page.
The most important function is to add Point on the map, which are navigation points directing to specific Rooms.
Select Virtual Tours -> Maps from the side menu.
Click the + icon located in the top right corner of the screen.
Be sure to give a Name and choose the "Map Type" as Map.

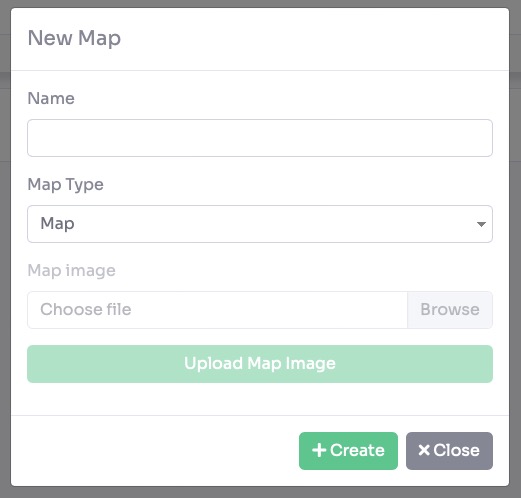
- Visible: Check this box to enable and display the map widget within your virtual tour.
- Name: Enter a custom label for the map button or header (e.g., "Map").
- Default View: Select the initial map style that loads for the user, such as Street or Satellite.
- Zoom Level: Set the default magnification level for the map when it is first opened.
- Zoom to Point: When enabled, the map will automatically center and zoom in on a specific location marker when selected.
- Thumbs: Enable this to display thumbnail previews of the rooms or locations directly on the map markers.
- Point Color: Choose the primary color for the location markers (points) on the map.
- View Color: Customize the highlight color used for the active room or the "field of view" indicator.
- Point Size: Use the slider to adjust the physical size of the markers on the map interface.
- View Size: Adjust the slider to change the size of the interactive map window relative to the tour screen.
- Cluster Distance: Use this slider to define the proximity at which multiple nearby markers will group together into a single cluster to keep the map clean.

To assign rooms to the Map click on "+" icon.

A new pop-up appears with the list of rooms on the tour. Select the room to add to the map and click the create button.
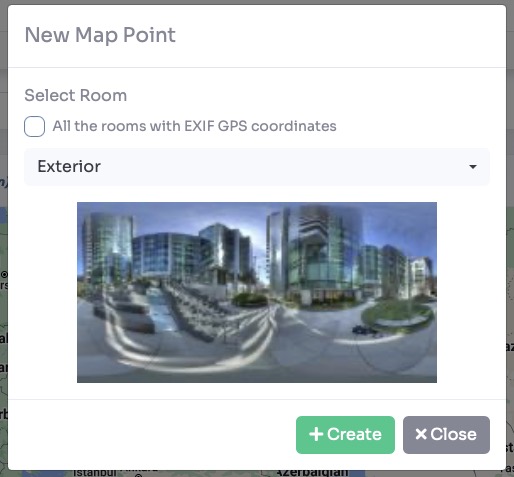
The system can automatically detect geographic information embedded in your panoramic images to streamline the mapping process. If your uploaded images contain EXIF data with GPS coordinates, they can be positioned on the map instantly.
Select a specific room from the list to manually add its coordinates to the map.
Check the box labeled "All the rooms with EXIF GPS coordinates" to automatically place every room in the tour that contains valid metadata.
Click the + Create button to finalize the placement.
- Repositioning: Click and drag the point to visually adjust its location on the map.
- Manual Correction: Open the point settings to manually type in precise latitude and longitude coordinates.
- Removal: If a point is no longer needed, you can select the point and click Remove to delete it from the map view.
To ensure your interactive map accurately reflects the direction the viewer is facing, you must calibrate the North position for each room. This aligns the "field of view" indicator on the map with the actual orientation of the panorama.
Navigate to Virtual Tours > Rooms from the sidebar menu.
Click the Edit button on the specific room you wish to calibrate.
Select the Preview / Adjust tab, then click the North sub-tab.

- Visual Rotation: Rotate the 360° panorama until you are facing the real-world North. Click the Set button to save this position. You can then check the map preview to confirm the direction is accurate.
- Map Slider: Move the slider located over the map preview. This allows you to see the "field of view" cone rotate in real-time, making it easy to match the marker to the room's layout.
Click on Save on top of the page.
Navigate to Virtual Tours > Editor UI from the sidebar menu.
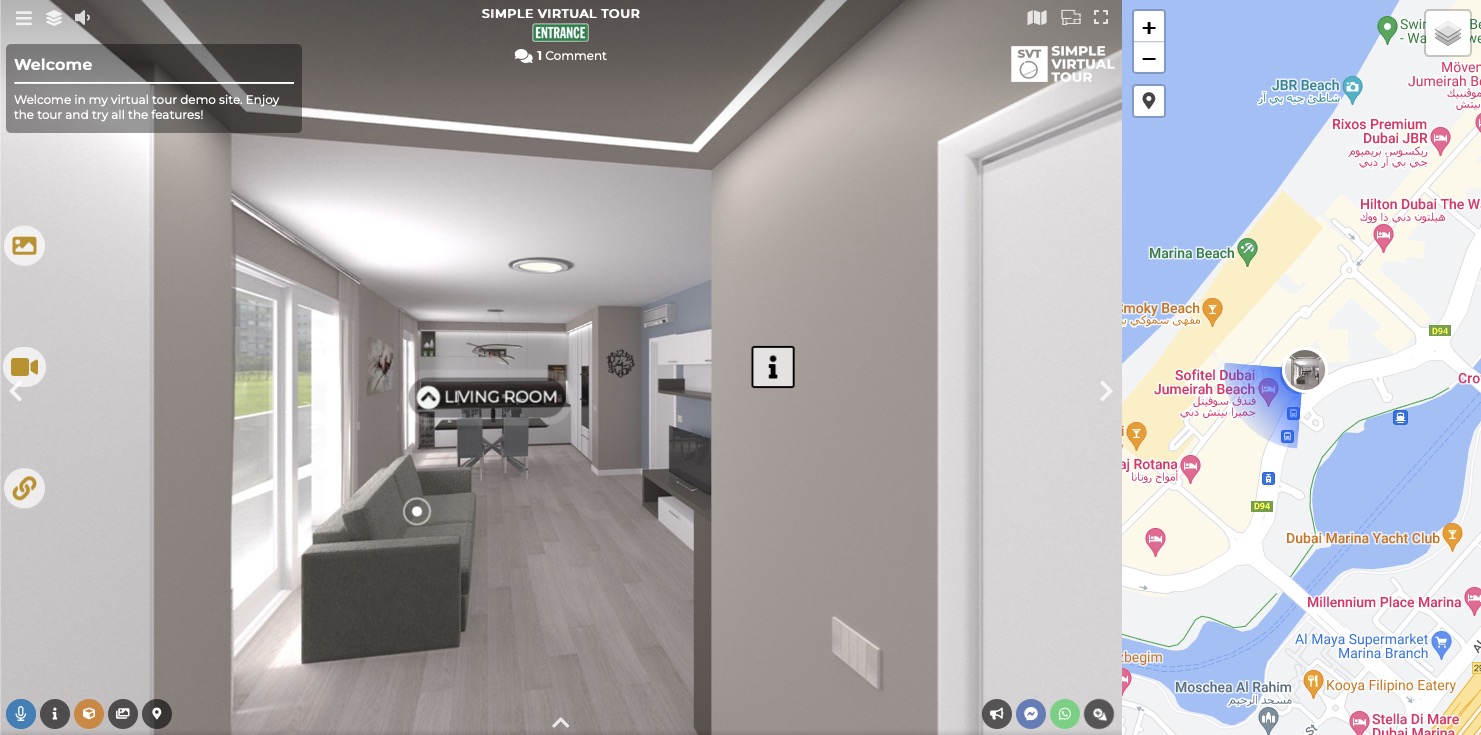
Click the Map icon on top right and set Show to Visible.

Click Save on top right corner of the page.
The map will now be shown in the tour as follows: