How to add a Floorplan?

Andrea
Last Update hace 2 meses
Clear and aesthetically pleasing 2D floor plan can facilitate your users's navigation through the property. Additionally, it will be easier for them to orientate themselves in the room's arrangement.

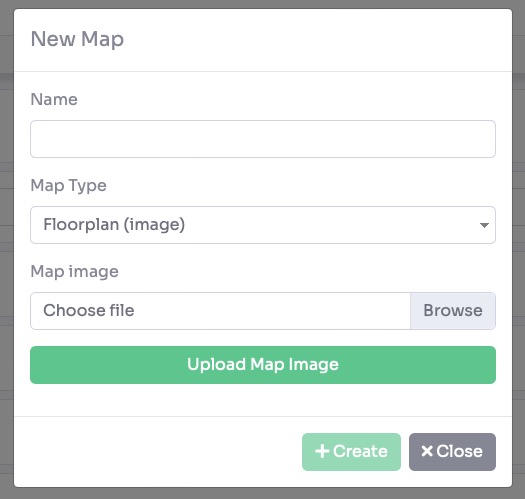
Configure the following settings to customize the appearance and scale of your floor plan:
- Visible: Check this box to enable the indoor map widget within the tour.
- Name: Enter a custom label for the map (e.g., "Floor Plan" or "Level 1").
- Width (Desktop/Mobile): Set the specific width in pixels (px) for the map display on different devices to ensure it fits the screen perfectly.
- Default Room: Select the room that should be highlighted or active when the map first opens.
- Info - Link: Provide a URL if you want the map to link to external content, such as a PDF brochure or a property listing.
- Info - Open in: Choose whether the info link opens in a New Window or in a Modal.
- Point Color / View Color: Customize the colors for the location markers (points) and the active "field of view" indicator.
- Point Size: Use the slider to adjust the physical diameter of the navigation points on the floor plan.
- View Size: Adjust the scale of the "field of view" indicator that shows which direction the user is looking.
- North: Use the slider to calibrate the North orientation of the entire floor plan relative to the rooms.


A new pop-up appears with the list of rooms on the tour. Select the room to add to the floorplan and click the create button.
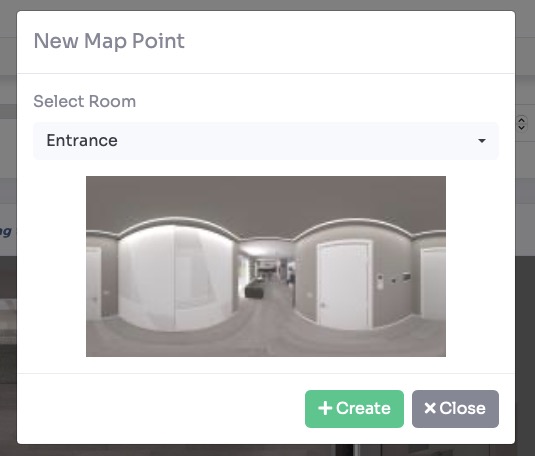
Once a room is added, a navigation point will appear on the floorplan interface. You have full control over these markers:
- Repositioning: Click and drag the point to visually adjust its location on the map.
- Manual Correction: Open the point settings to manually type in precise latitude and longitude coordinates.
- Removal: If a point is no longer needed, you can select the point and click Remove to delete it from the map view.

Click Save on top of the page.
To ensure your interactive floorplan accurately reflects the direction the viewer is facing, you must calibrate the North position for each room. This aligns the "field of view" indicator on the map with the actual orientation of the panorama.
Navigate to Virtual Tours > Rooms from the sidebar menu.
Click the Edit button on the specific room you wish to calibrate.
Select the Preview / Adjust tab, then click the North sub-tab.

Click on Save on top of the page.
Once you have configured your floorplan settings and positioned your rooms, you must enable the floorplan widget within the tour's user interface so that it is visible to your viewers.
Navigate to Virtual Tours > Editor UI from the sidebar menu.
Click the Floorplan box in the top right and set Show to Visibile.

Click Save on top right corner of the page.
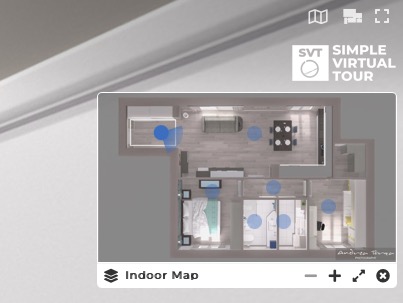
The floorplan will now be shown in the tour as follows: