How to add a Room (Panorama) into the Tour?

Andrea
Last Update לפני חודשיים
Select Virtual Tours -> Rooms from the side menu.
Click on the "+" icon on top right.

When the pop-up appears, fill in the details to create your new room:
- Name: Enter a descriptive name for your room (e.g., "Kitchen").
- Type: Select the format of your room's content. You have five options:
- Image: A panorama image in JPG or PNG format. (Note: For a 360 panorama, use an image with a 2:1 resolution ratio).
- A.I. Panorama: Describe the room you want, and the AI will generate it for you.
- Video 360: A 360-degree video in MP4 or WEBM format (requires a 2:1 resolution).
- Video Stream (HLS): A direct link to your live video stream.
- Lottie: A Lottie animation file in JSON format.
- Panorama Image: Click Browse to select a file from your computer.
Click the Upload button.

When the upload ends, a preview of the room is shown.
To confirm and create the room click on the '+ Create' button.

If you prefer you can also select an image already loaded, by clicking on existing panoramas button.
Once created you will be redirected to its settings page, where you can change the display parameters.
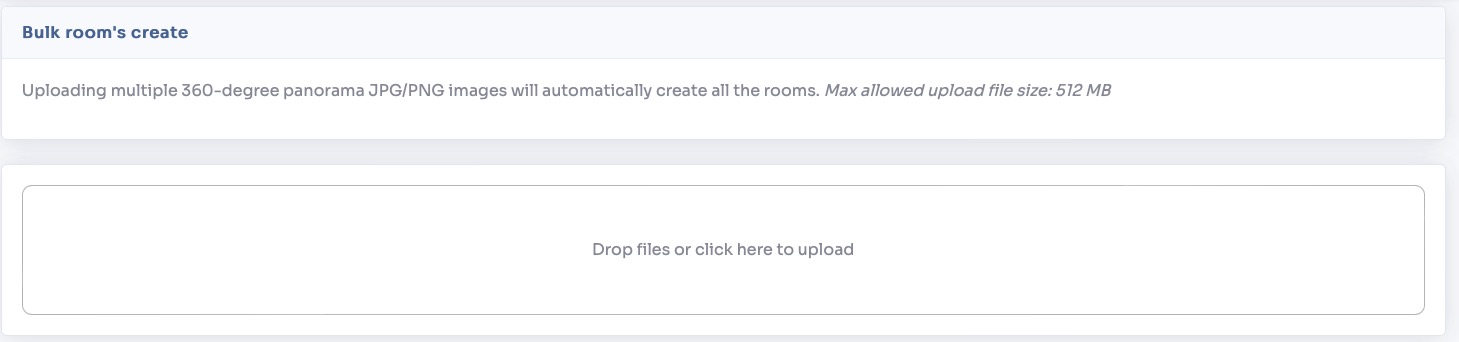
To speed up the process, you can use the bulk room creation feature BULK.
In this mode you can only upload .jpg/.png files by drag and drop them from your computer folder.
The system generates automatically all the rooms with the name of the files.
It's not yet a fully functional virtual tour, you need connections between rooms (markers).
See How to connect Rooms (Markers) in a Tour? tutorial.