How to create a Landing page?

Andrea
Last Update 2 months ago
Use the intuitive drag-and-drop interface to build fully responsive information boxes without writing a single line of code.
Select Publish -> Landing, from side menu.
You can choose between Editor (visual web editor) and HTML (HTML code editor).
Editor mode
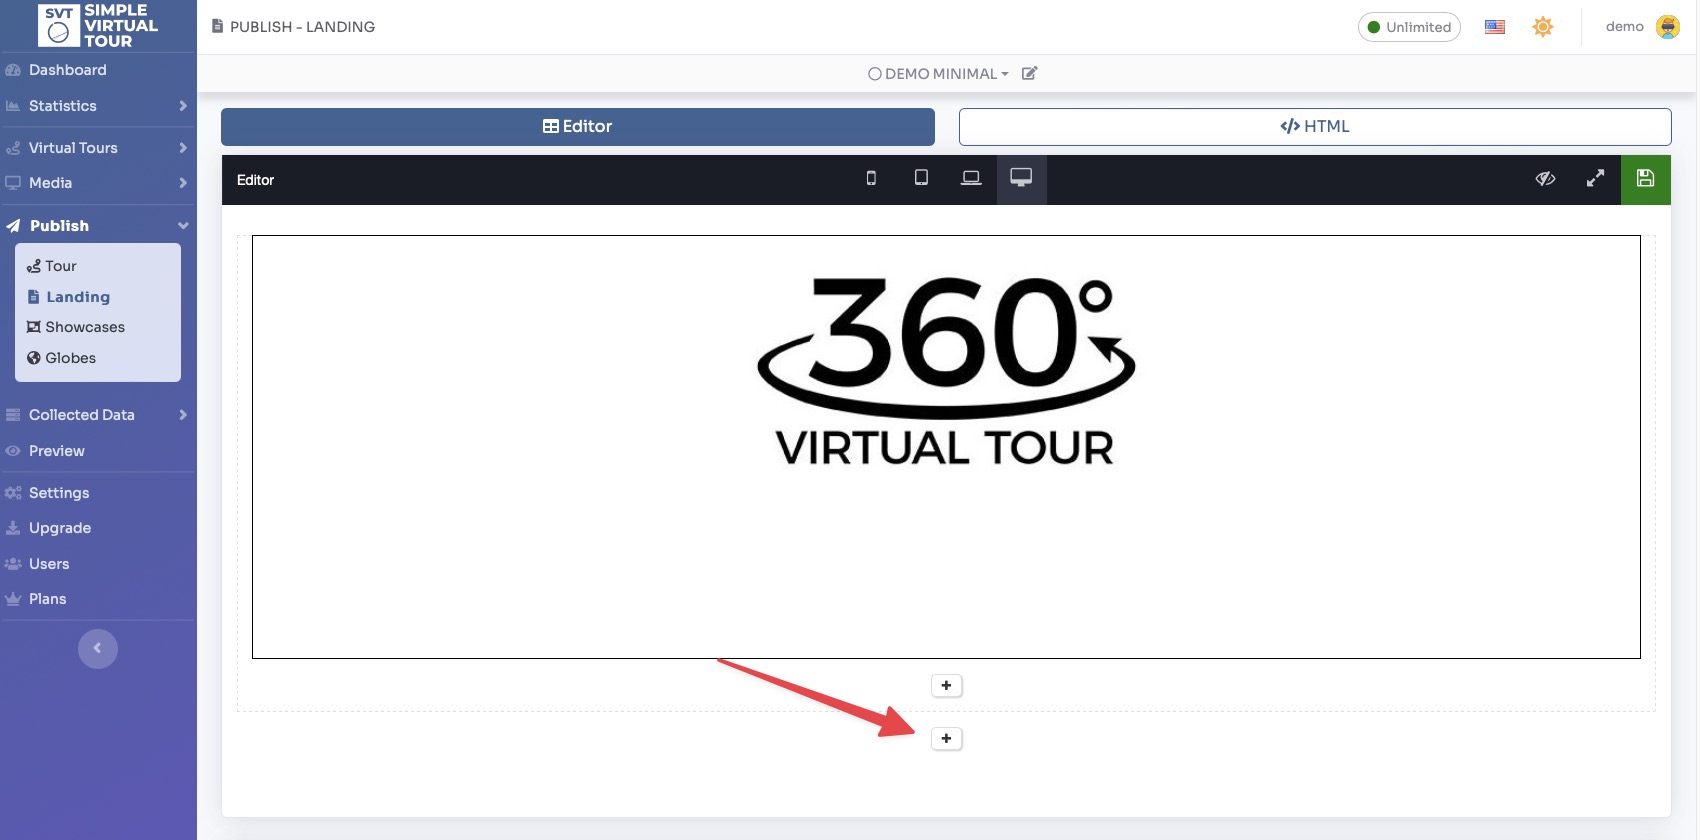
Container (with your virtual tour) “360 Virtual Tour” is added by default.
Click "+" below container “360 Virtual Tour”, then you can add other elements of the website.
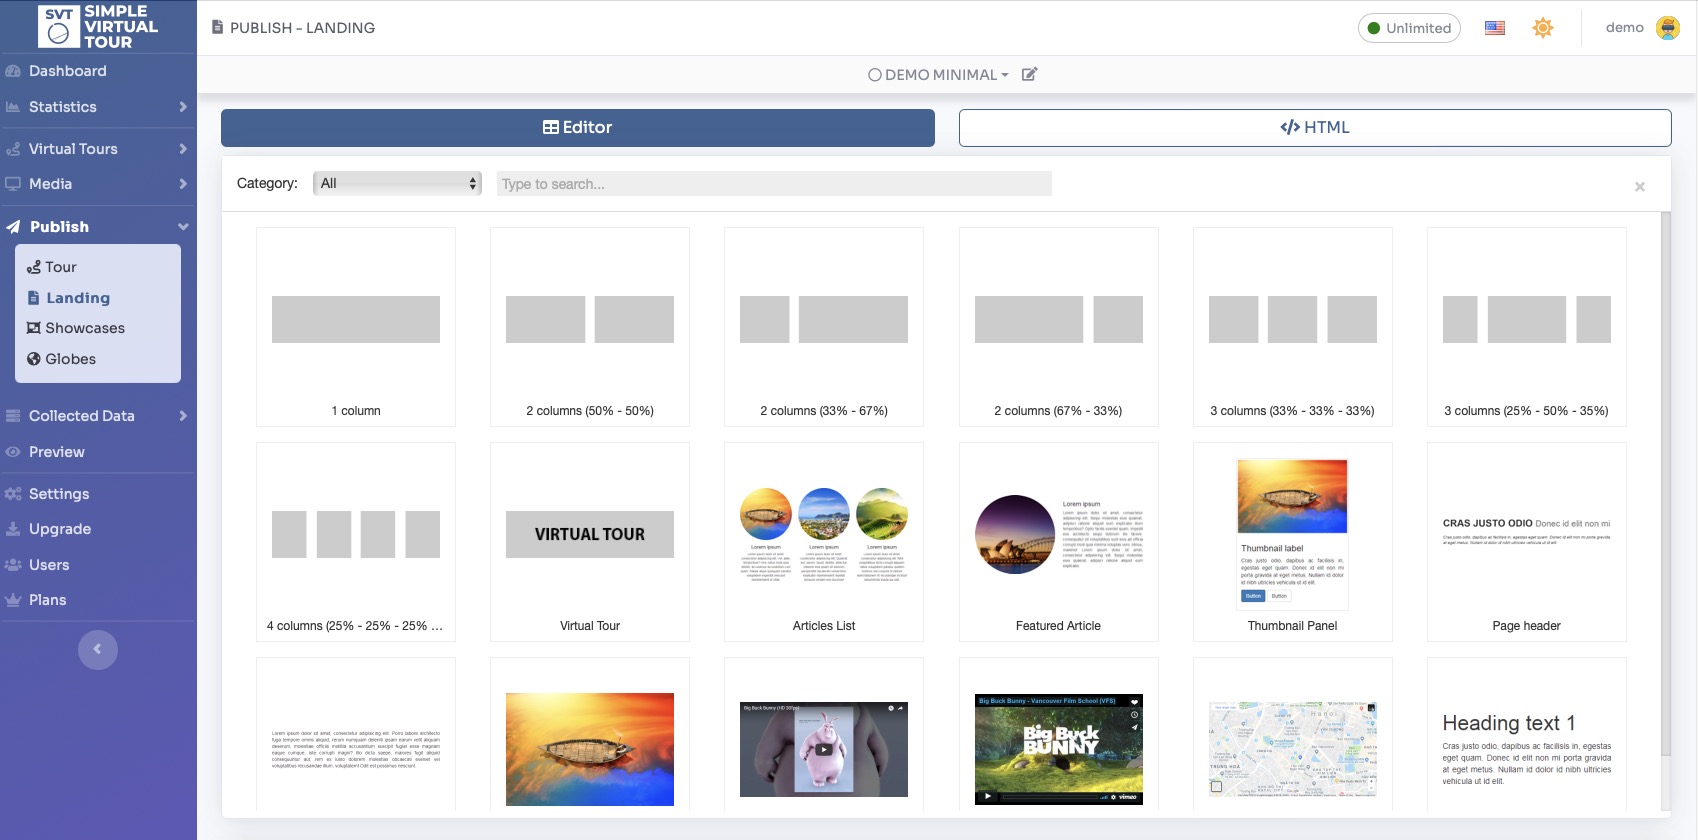
A list of all the items that can be inserted is shown. Click on the item you want to add.
On the top toolbar, you can see a preview of your page on various devices, ranging from mobile to desktop. On the right side, you have icons for Preview, Fullscreen, and Save.

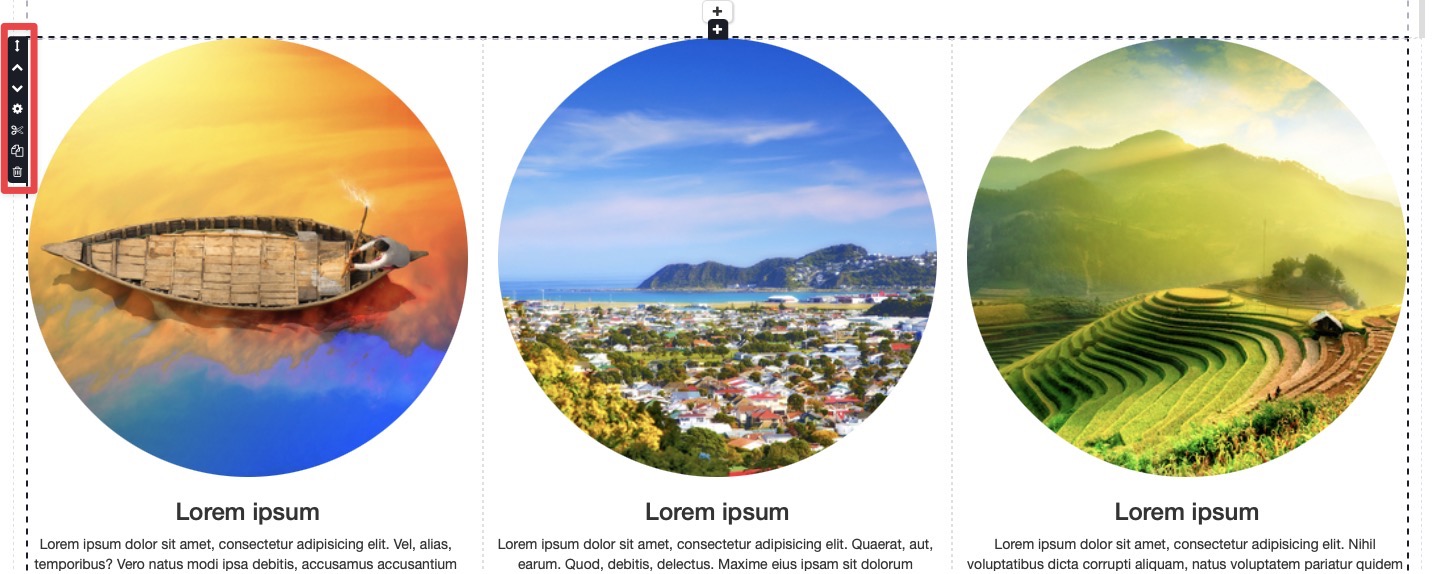
On the left side of each container, you have access to several tools that give you full control over its placement, organization, and management within your page layout:
- Drag: Click and hold this icon to freely reposition the container anywhere on the page.
- Move Up / Move Down: Shift the container up or down one spot to quickly rearrange your page hierarchy relative to other containers.
- Container Settings: Open the configuration menu to adjust properties and options specific to that individual container.
- Cut: Remove the container from its current location and save it to your clipboard so you can paste it elsewhere.
- Copy: Create an exact duplicate of the container and save it to your clipboard for pasting.
- Delete: Permanently remove the container from the page layout.
Don't forget to save your Landing Page by clicking Save (floppy disk icon) in the top-right corner.
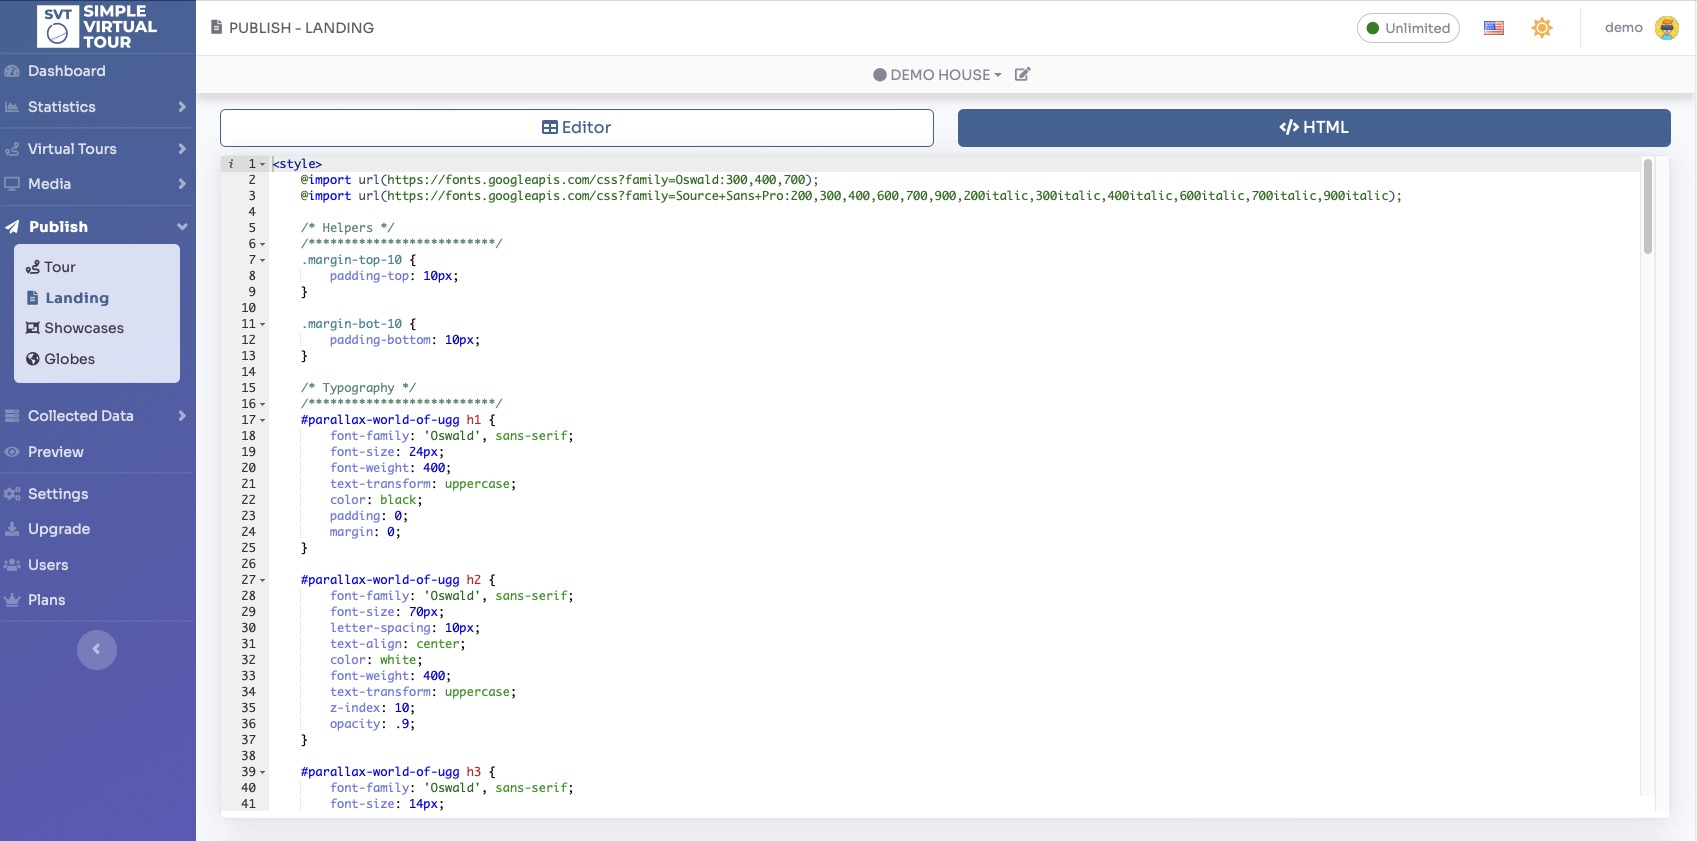
HTML Mode
The editor is suitable for people who know the basics of programming in HTML and JavaScript.
Scrolling further down the page you will find sections to change the landing's meta tags and publish link /embed code.
You can view a live preview of Landing page here